The User tab is where you can view, manage, and create users. As well as define groups and roles for users.
To add a User
- Select Users from the left menu
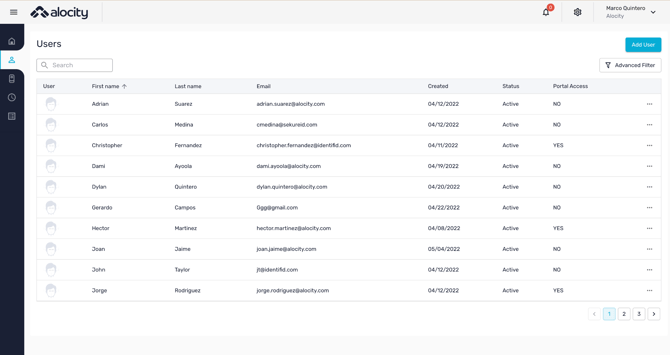
- Click Add User.
- Add the user's first and last name, email address, and mobile phone number.
- If you wish to grant this user access to the management portal, then click on Portal Access. Users with portal access will have the ability to manage users, doors, groups, schedules etc depending on the role assigned to them.
- Choose a Role and the Sites they can manage, then click Create
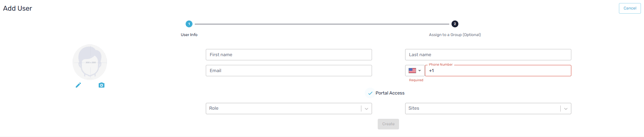
- Photo: Add a picture, or take one with the camera.
- First and last name.
- Email and phone: Both are required.
- Portal Access: Tick it to let this person sign in to the Control Center.
- Role: What they can manage: Full Access, Manager, Supervisor, Limited Access or Dashboard.
- Sites: Which sites they can manage.
- Create.
- Step 2: Assign to a Group (Optional), after Create.
- Cancel: Leaves without saving.
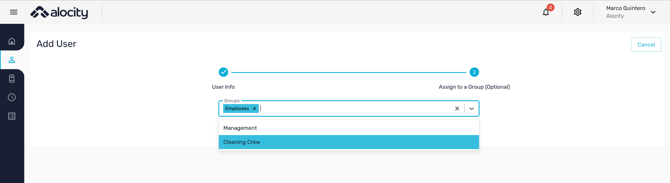
- Assign a Group to the user by selecting from the dropdown.
- Click Assign. (By assigning a group to the user, the user automatically inherits any access schedules linked to the group)